Showing posts with label Flikr. Show all posts

Thursday, December 17, 2009

Fishy Fishy


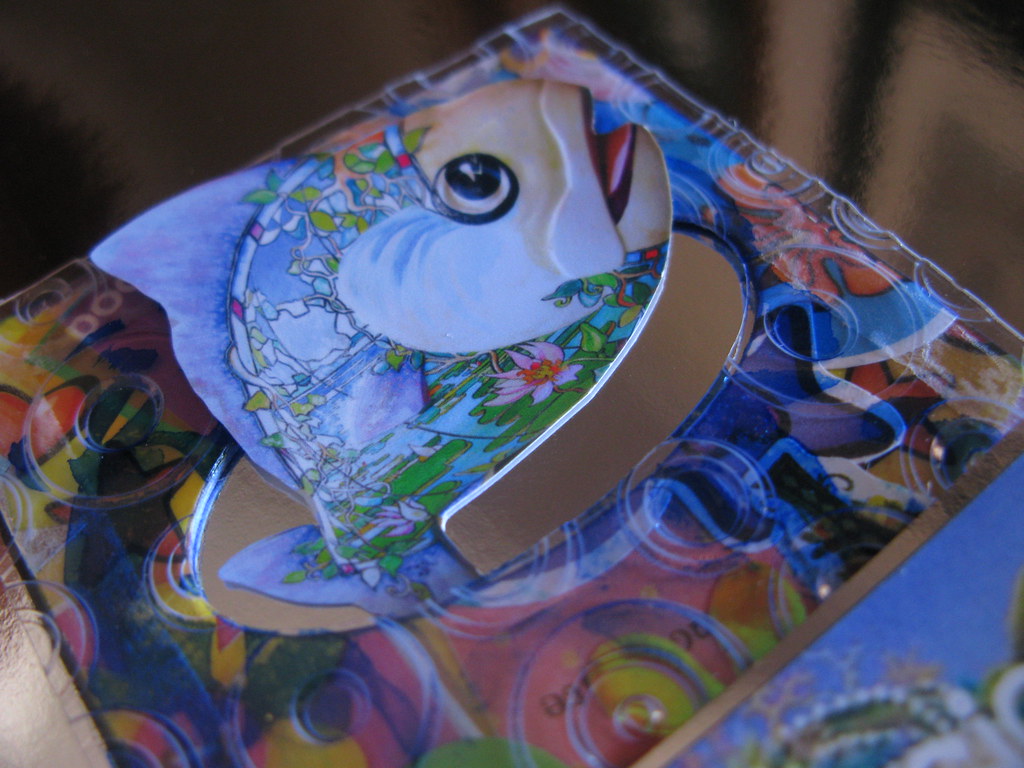
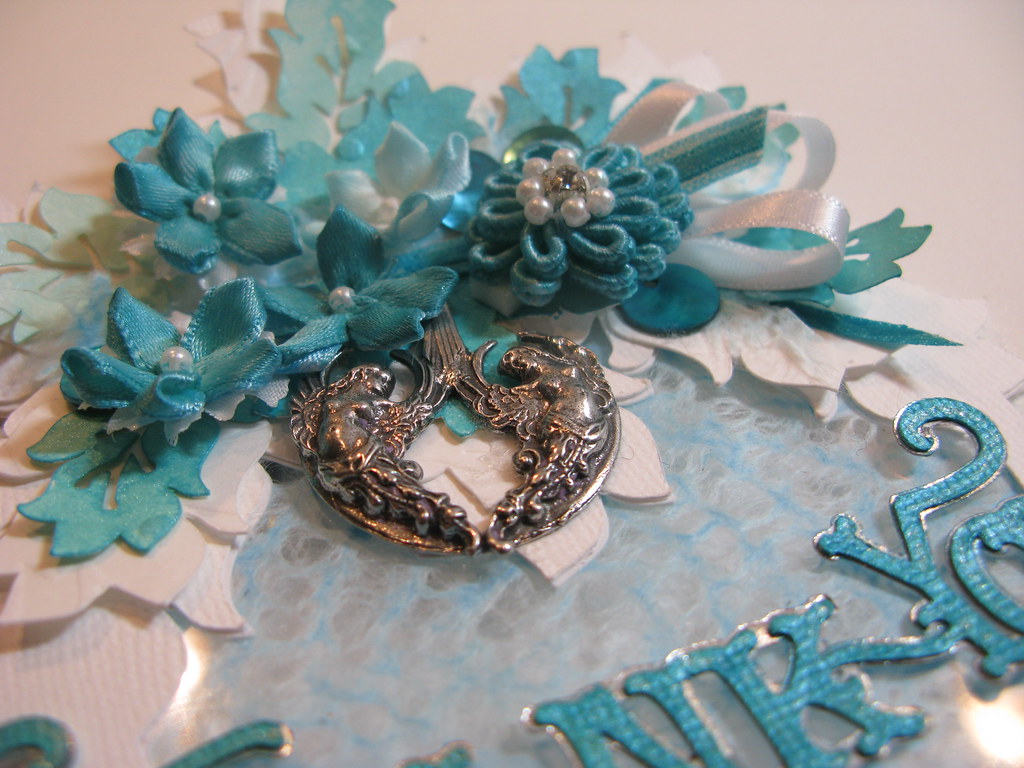
Here is this  months Paper Arts ATC Swap for December 09 - with the theme of 'Fish'. Just a sneak peak and I will be back tomorrow with the how and more :)


As always my Flickr Account which you can get to from here by clicking on these words - have loads more photos and a tutorial of sorts and what I did to make these. Enjoy xxx

post signature

Sunday, November 29, 2009

Paper Arts - November Swap - Diamonds


I have no idea where this last week went and how I have managed to not post for almost a week now! There are major renovations happening here at home at the moment with stage one just completed on Saturday after 5 weeks of mess and noise, I guess that kept me busier than I realised! Photo's will follow soon - a whole new backyard and stunning water feature at the front entrance so far.  However,  still months of work yet to happen well into next year at this stage. I'm excited but what chaos it has created on my otherwise very normal life.


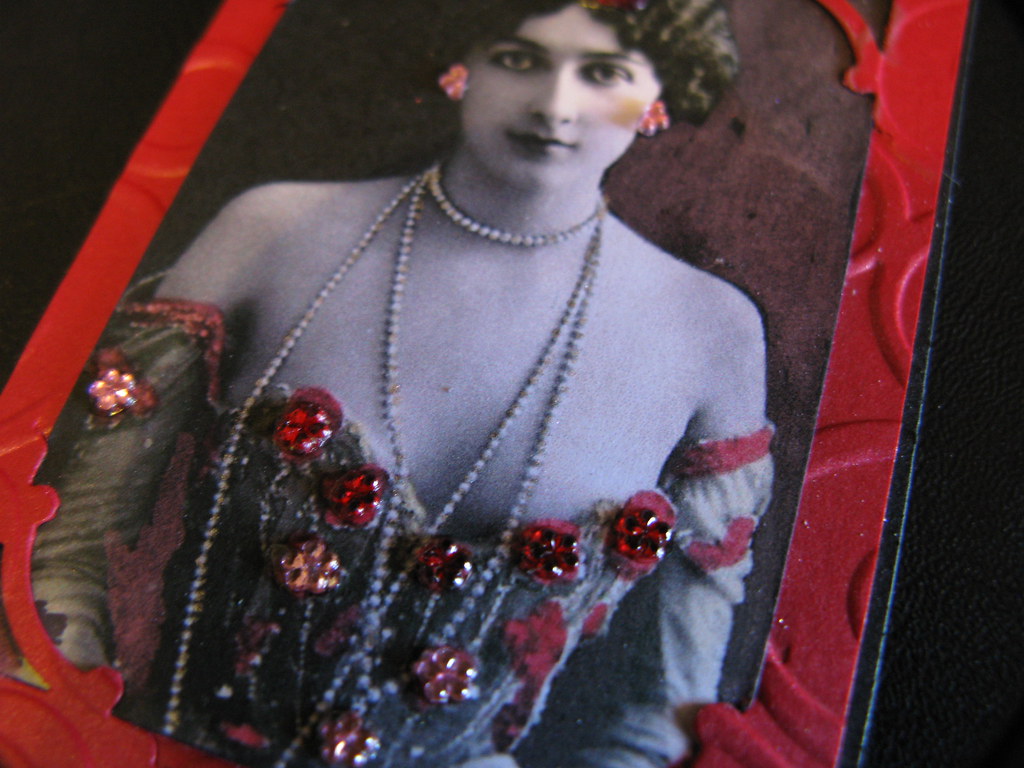
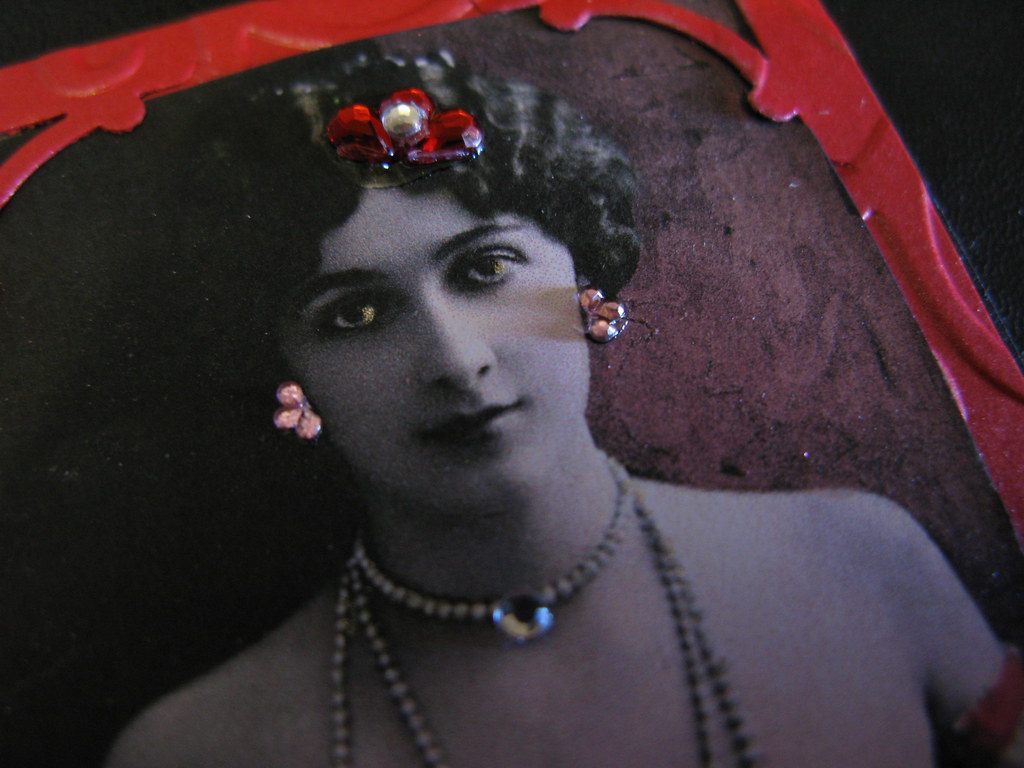
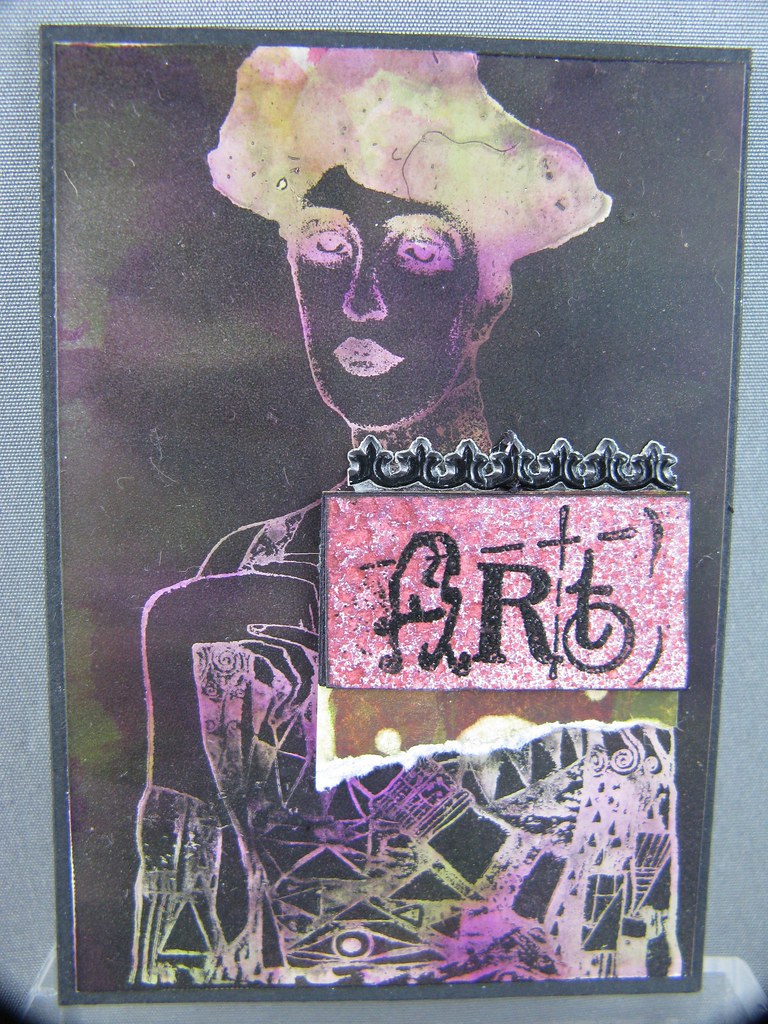
So a quick post on what went out this week for the month of November for the Paper Arts ATC Swap - Diamonds. This one has perfect pearls  - interference red used as a feature in the background, with lots of yummy bling red and light pink diamonte flowers on the dress and jewellery. I a little had fun creating a frame this time with my corner punches and running the whole thing through the cuttlebug for something different to a standard stick on finish.


I ended up with three different versions on this one which are shown in my Flickr account as usual but showing here is the one sent as the swap. nest swap is 'Fishies' and it has be in by the 15th so I best get these ideas out of my head and onto paper.


post signature

Monday, November 23, 2009

Soot Technique on Gloss Card


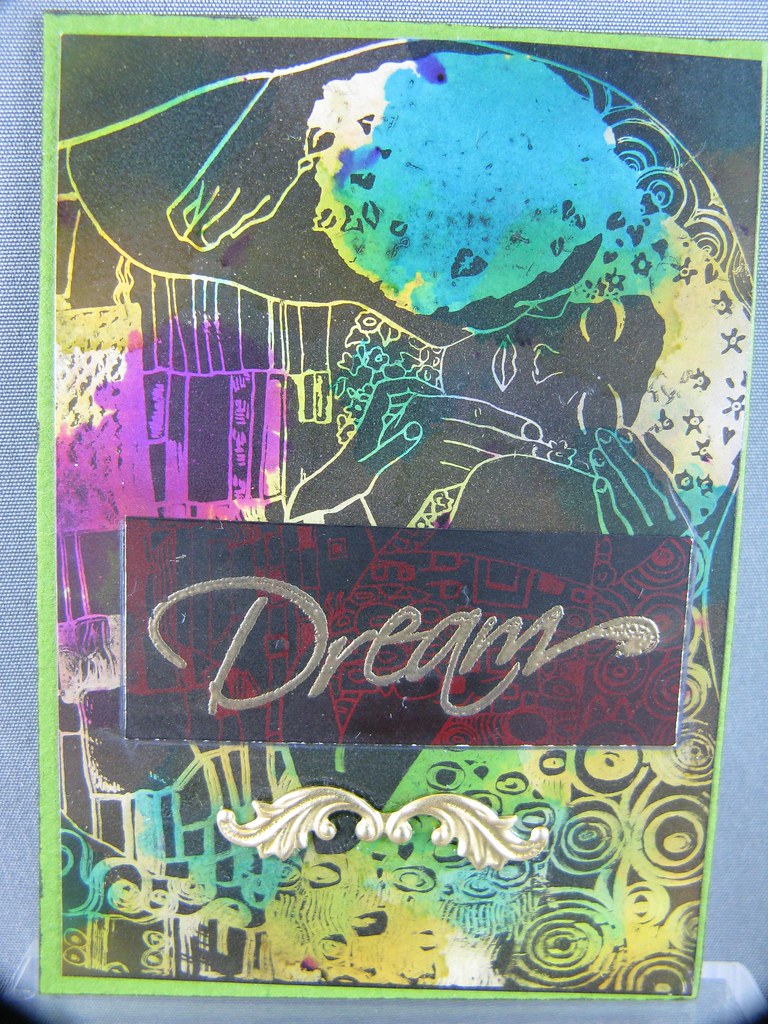
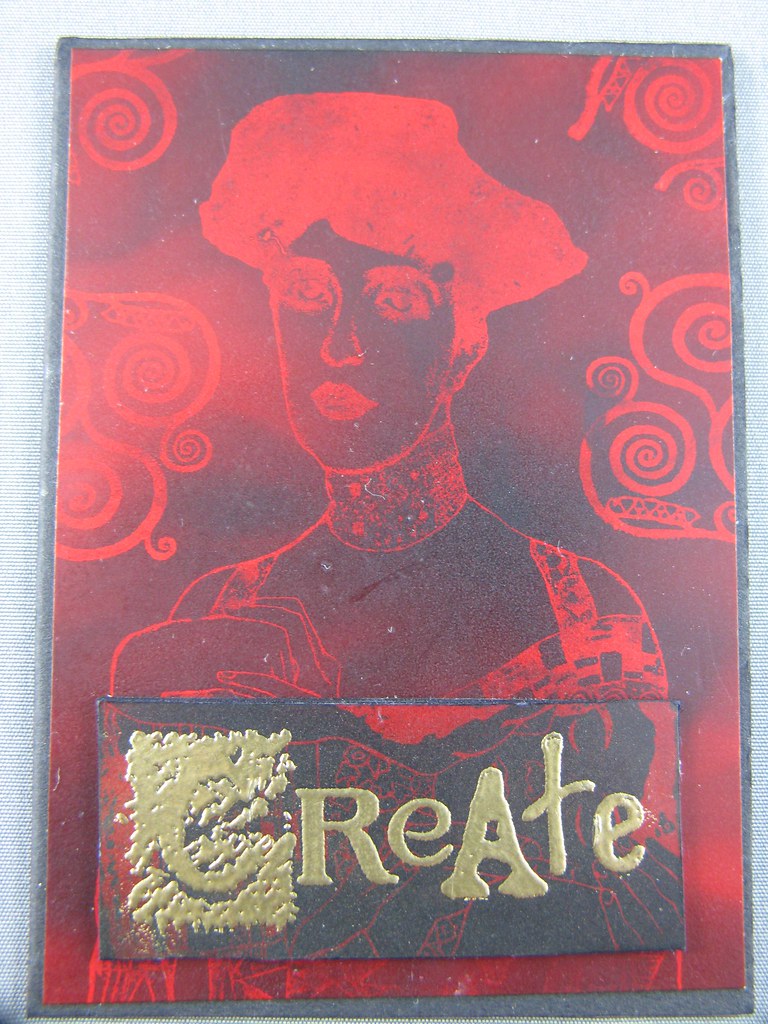
A n old technique from a recent class with Kelsey - quite simple and once again using alcohol inks dabbed onto a white gloss card as the first step. Then cover the card with soot from a candle flame by actually passing it throught the flame just quick enough not to burn it but to leave a layer of black soot. Stamp your image onto the soot surface very carefully trying not to touch the surface with your hand or moving the stamp. An amazing surprise when you lift the stamp if you are lucky and finally a quick spray of fixative to secure your image. Loads of quick easy Fun. 


The title was cut from exactly the same stamped image but this time on a red gloss card and no alcohol inks were required. So exactly the same image is used on the top as below and the word 'Dream' was then embossed on top in Gold.


Here is a whole image stamped on red gloss card only, but it dosent photograph so well with the shiny surface unfortunatly.


And finally here one with the original technique used in the beginning with White Gloss Card and Alcohol Ink as a background before placing the soot on the surface and Stamping. All these stamps are from Cherry Pie Stamps.


post signature

Wednesday, November 18, 2009

Layers of Collage into an ATC


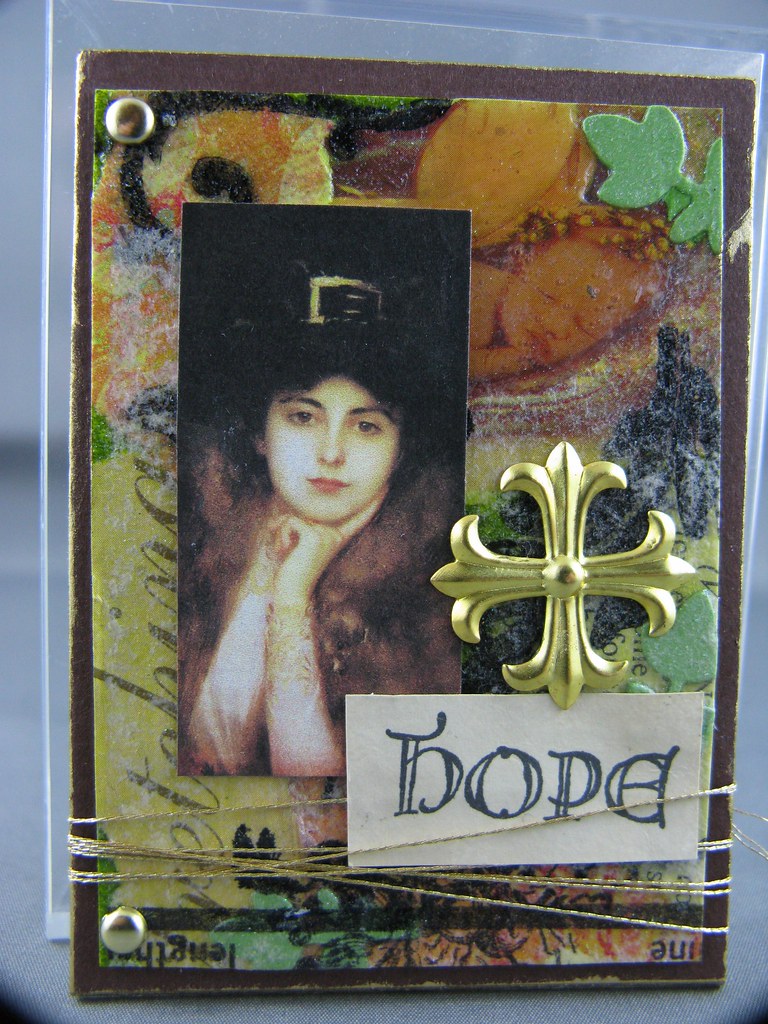
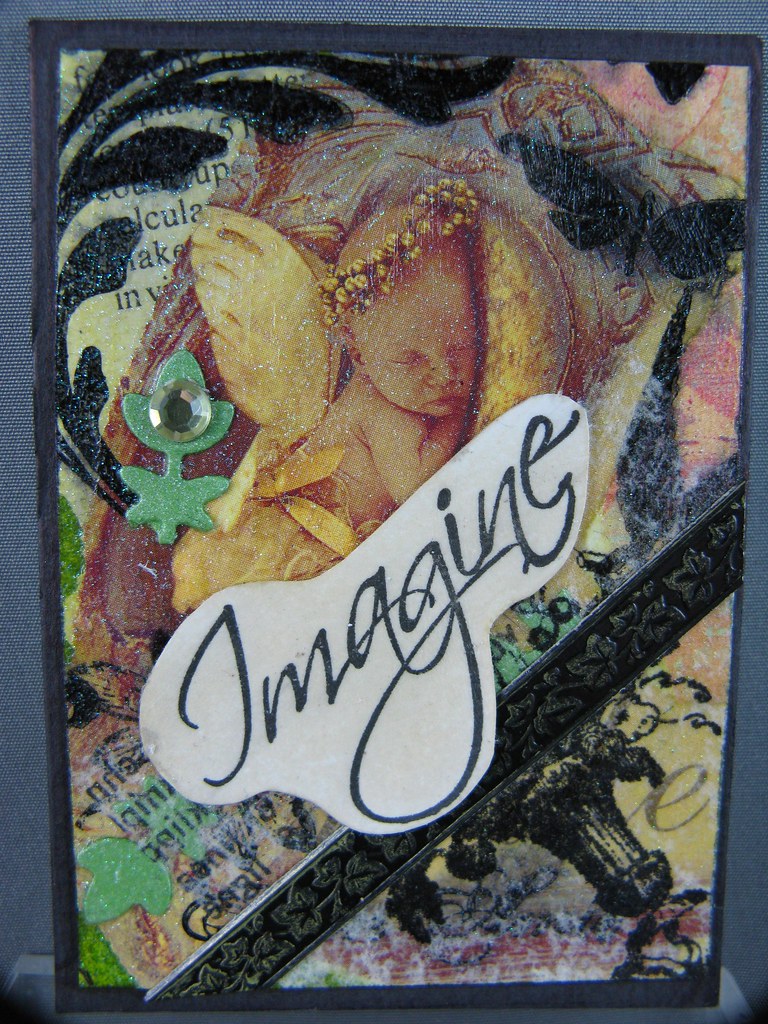
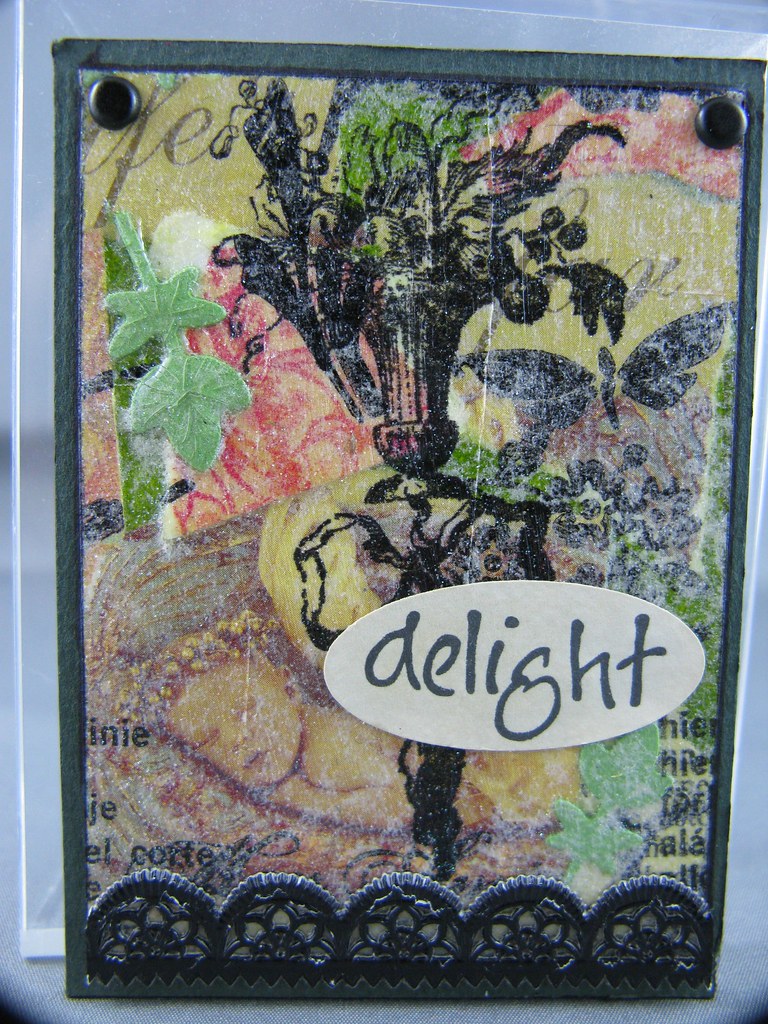
This ATC actually has a lot more work in it that is really obvious to the naked eye on your screen I daresay. There is actually 10 separate steps taken just to create the background before there is even a start on the finished and composed surface embellishing and they all have a secret hidden meaning. The words 'Hope' 'Delight' and 'Imagine' as used on another two ATC's below are a part of  a 9 in total series and refers to the tiny baby hidden in the collages and now showing in the backgrounds of these ATC's. Once you know they are there you don't have to look to hard. I have actually just uploaded the step by step process I took to create this layered background and they can be viewed in detail here just click on these words. This was a technique I learn't quite some time ago with Audery Underwood whilst doing a "SHE" journalling class which I must photograph and upload sometime soon.


The ATC 'Imagine' is actually avaiable as a swap on my Flickr Account at the moment if you would like it.

post signature

Tuesday, October 6, 2009

The Hand on My Moo Card

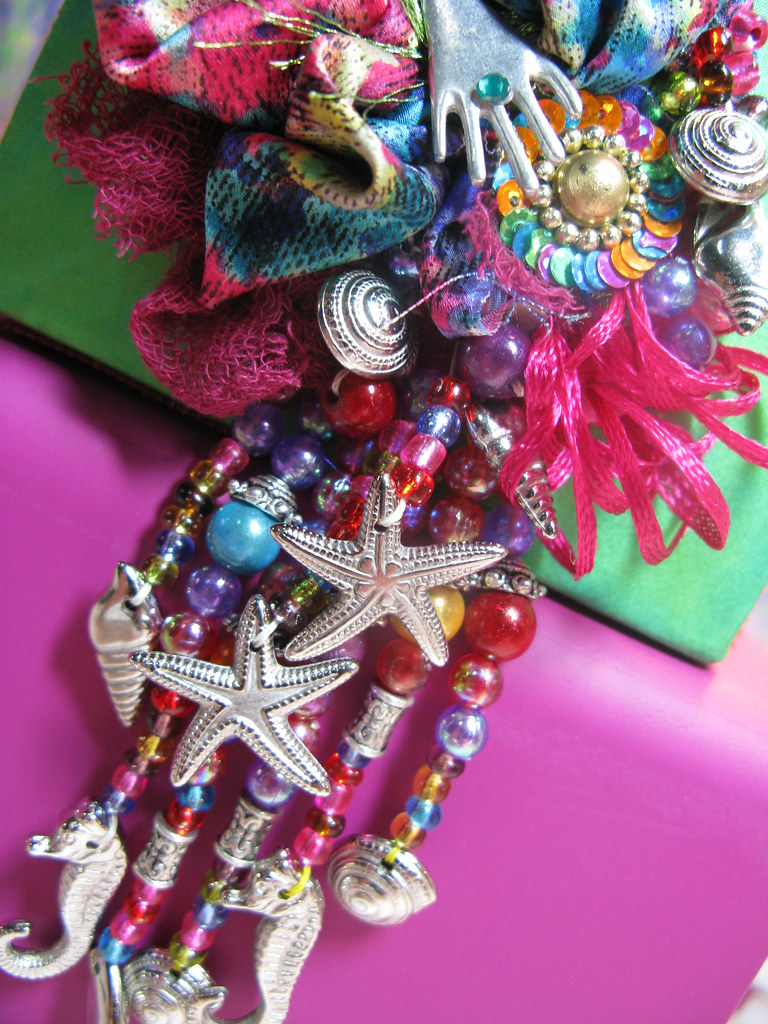
Some of the girls at my last ATC class were rather taken by one of my 'Moo' cards last week. The one in particular having a little metal hand on it that came from a bigger picture. So in my sorting of photo's in my new Free Picasa Program today I came across the photo I had used for that card design and figured I would expand on where the picture actually came from and how 'Moo' works for those of you who asked after my last posting.


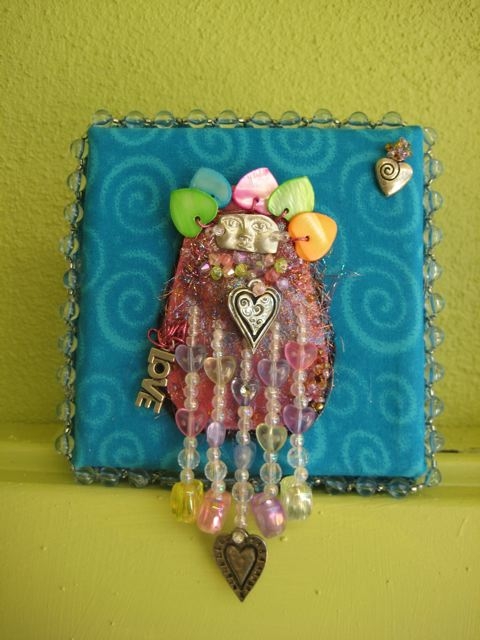
Some time last year a dear friend of mine Raelene and I indulged ourselves as one does in a day of shopping at the local craft fair. Well whilst we were initially scrapbooking buddies we found ourselves totally immersed in all things fabric, beady and shiny. Enter our "Wild Women" concept and a theory that we could have play dates creating little women of all sorts of fancy on canvases to adorn our walls. Raelene of course being assured by me that no great sewing skills were critical to achieve a result! She believed me and what a successful day was had by all as it was the school holidays and both her daughter and son had a go too!


After lots of random stitches and rouching and no particular rules at all the end results of our first ever "Wild Women" evolved and above are the snippets of the close up details of mine. Enter "Moo" cards as these photo's are also in my Flickr account and from there I found the link to create "Moo" cards as some of my friends had given out to me to my delight in recent times.


I love the "Moo" card concept because not only are they delightfully collectable, swapable,  practical as a little blog address cards between friends, but I think also doable as a tag for items to sell.  Who could ask for more - o yes and matching stickers too!


So from the Moo website it allows you to utilise a collection of photo's from a source nominated by yourself which in my case was my Flick account. you then get to place a little 'snippet view window' (my terminology there) all over a photo till you find a piece you like and save as your very own card design - toooooo easy and they say in just 4 easy steps here. The marvellous thing about this concept is that you get to do this to as many photos as you like and in my case I printed 5 each of 20 different pictures and had 100 printed. But you can print 100 of the same or 100 completely different ones! All for the same price - no printer around town would consider that even remotely doable and make it fun at the same time!


This was raelene's first attempt at her "Wild Woman". I was totally thrilled given I was contending with " but I don't sew" go figure!


From that day I made up a gift box of Goodies for a friend Trudy's birthday whom managed to create this one all by herself. She didnt even wait for us to get together and learn or share just straight into it!  Trudy is mostly into glass and so adorned her mermaid's hands with glass pieces she had recently fired.

Then there was Joaquin, Raelene's son a total star who created these little delights as the male version of our creations on our play date. He has had so many comments on his work in my Flickr account he has out done me in my own account as a favourite!


You have to love his choice of colours and patterns - it was a lesson for me of what was in my junk box!


Hope you've enjoyed this share - leave me a comment or tick the boxes below to indicate your thoughts to make my day xxx.

Saturday, September 5, 2009

All My Work


I am busy up loading all my work that is photographed to date onto Flicker at the present moment ready for blogging. So if you would like a sneak peak of whats to come in detail please feel free to check all my work - current and past that I think I might like to blog about soon.  Use this link I have provided below or the Flikr link to the right in the side colum. Bxxx


LinkWithin

Related Posts with Thumbnails